
Getting good results from image-to-3D
September 23, 2026 · 5 min read
The reference image decides most of the result. What makes a good reference, how to shoot or prepare one, when to use multiple views, and how to fix the usual problems.
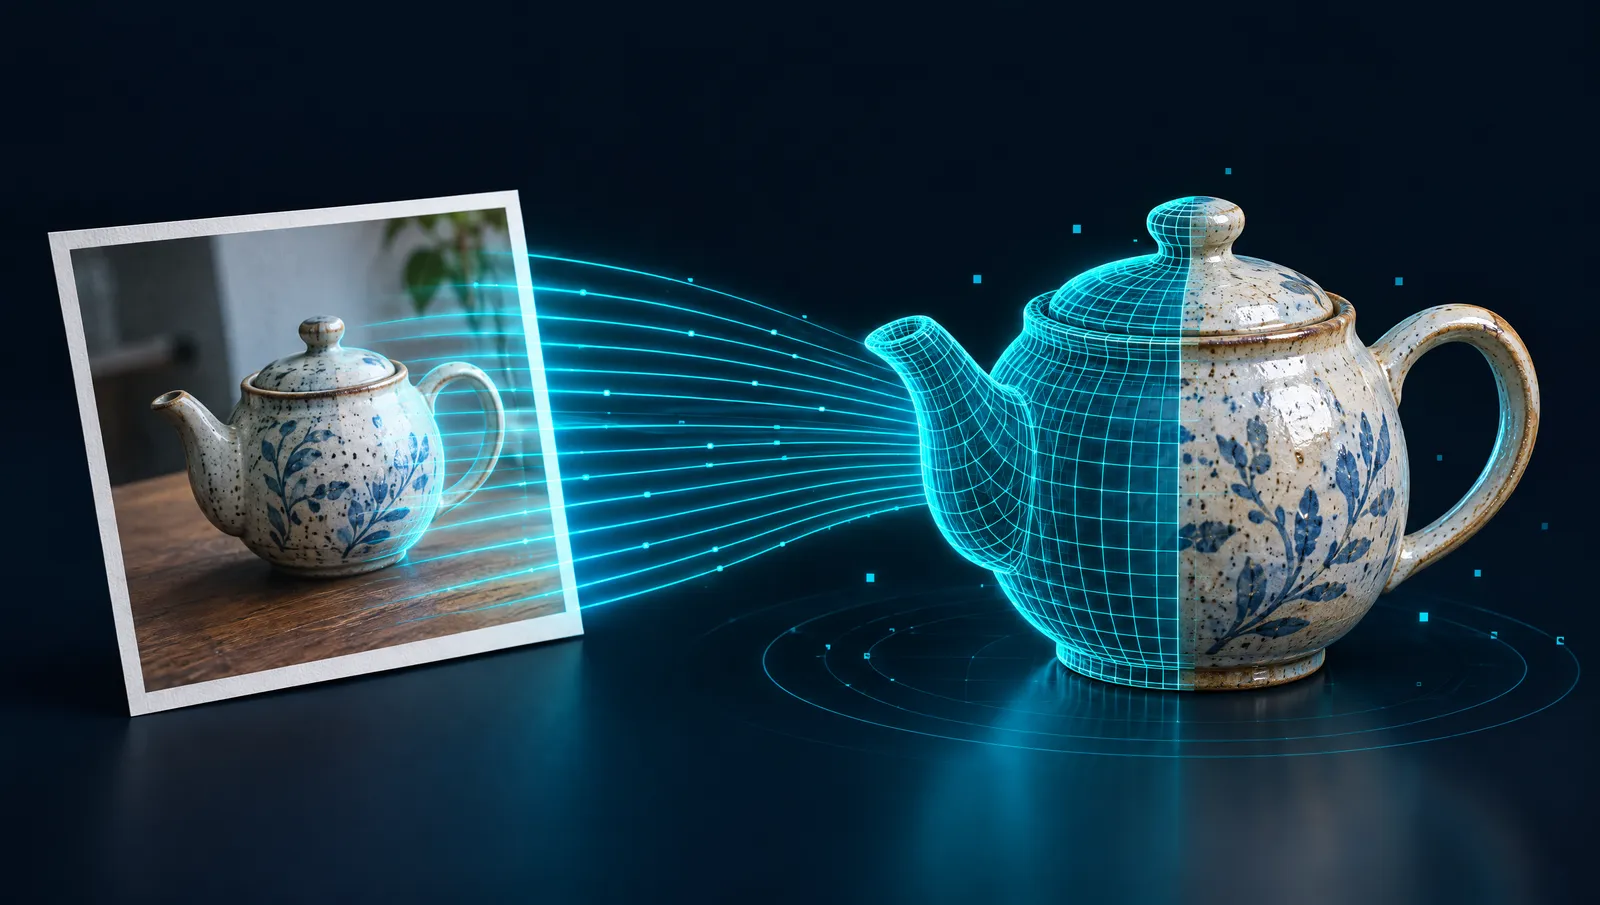
Image-to-3D reconstructs a whole object from a picture. That is a remarkable trick, and like every trick it depends on its input: a single photo shows one side of an object, and the generator has to infer everything it cannot see. The more shape information your image carries, the less the generator has to guess.
This guide covers what makes a good reference image, how to prepare one, when multiple views are worth it, and how to fix the most common problems.
What the generator needs from your image
Think of it from the generator's side. From one image it must work out:
- the outline of the object (where the object ends and the background begins),
- the depth of every visible part (how far each point is from the camera),
- the hidden sides (back, underside, inside of handles),
- the materials and colours for the texture.
A good reference makes the first three as easy as possible. Colour and material come almost for free once the shape is right.
Five checks before you upload
- One object, centred. Crop tight around the subject and leave a small margin. Two objects in frame usually become one merged mesh.
- A plain, contrasting background. A clean backdrop makes the outline unambiguous. MeshForge isolates the subject automatically, but a busy background still makes that harder.
- A three-quarter view. A straight-on front view hides depth. A view from about 30–45 degrees to the side shows the front and one side at once, which gives the generator far more to work with.
- Even, soft light. Hard shadows get read as shape or painted into the texture. Overcast daylight or a lightbox are ideal.
- Enough resolution. MeshForge scales uploads to 2,048 pixels on the long edge in your browser before sending them, so start from an image at least that large and sharp.
Shooting your own reference
If you are photographing a real object:
- Put it on a plain surface against a plain wall, with space around it.
- Use diffuse light: a window on a cloudy day, or a lamp bounced off a white wall.
- Shoot from a little above the object's centre, at a three-quarter angle.
- Avoid wide-angle lenses up close; they distort proportions. Step back and crop instead.
- Keep reflective and transparent parts to a minimum. Glass and chrome show their surroundings rather than their own shape, which confuses reconstruction.
Preparing a drawing or concept art
Drawings work well when they read like a real object:
- Clean line art with flat or softly shaded colour is better than heavy painterly texture.
- Show the object in perspective, not as a flat front elevation.
- Avoid dramatic cast shadows and rim lighting.
- If the character has a pose, a neutral one (arms slightly away from the body, legs apart) is easiest to reconstruct and later to rig. For image input, MeshForge also offers an optional T-pose pre-step that reposes the subject before modelling, which helps rigging.
Multiple views
If you have front, side and back images of the same object, use multiview input. Only the front view is required; each extra view replaces guesswork about the hidden sides with real information. Multiview works best when:
- all views show the same object at the same scale,
- the object is in the same pose in every view,
- the lighting is consistent between views.
Mixed sources — a product photo for the front and a sketch for the back — tend to produce a model that agrees with neither.
Common problems and fixes
| Symptom | Likely cause | Fix |
|---|---|---|
| Flat, "cardboard cut-out" model | Straight-on front view | Use a three-quarter view or add side views |
| Background objects fused to the model | Busy background or cluttered crop | Crop tighter, use a plain backdrop |
| Dark blotches in the texture | Hard shadows in the photo | Re-shoot with soft light |
| Back of the model looks wrong | Hidden side guessed | Add a back view with multiview |
| Thin parts missing (straps, antennae) | Too small in the image | Crop tighter or use a higher-resolution source |
| Shiny parts come out warped | Reflections read as shape | Reduce reflections, or accept and fix later |
After generation
Check the model in the viewer from every side before you export. Look at the base-colour channel for baked shadows and the wireframe for thin or broken parts. If the shape is almost right, try again with a better crop or an extra view rather than a completely different image, so you can see what changed.
Image-to-3D is one of several ways to start a model. Many tools offer it, and the same principles — one clear subject, good light, informative angles — apply to all of them.
Choosing between text and image input
Both inputs produce a model; they suit different situations.
| Use image input when… | Use text input when… |
|---|---|
| You have a specific object you want reproduced | You have an idea but no picture |
| The exact shape and colours matter | You want to explore variations quickly |
| You have concept art for a character or prop | The object is simple to describe in words |
| You can take a good photo | Photos of the object would be cluttered or reflective |
Many people combine them: generate from text to explore ideas, then draw or photograph the version they want and use image input to get it exactly.
Respecting other people's images
Only upload images you have the right to use. A product photo from a shop, a character from a film or artwork from another artist may be protected; generating a model from it and publishing or selling that model can infringe the owner's rights. Your own photos, your own drawings and properly licensed images are safe starting points.
Sources & further reading
- MeshForge API reference — image input requirements: formats, size limit and options such as T-pose.
- The PBR Guide, Part 1 (Adobe) — why lighting baked into a texture looks wrong under other light.
- glTF Viewer by Don McCurdy — a free browser viewer to inspect a downloaded GLB outside MeshForge.