
Preparing a generated model for 3D printing
September 23, 2026 · 5 min read
From STL download to a clean print: scale, repair, wall thickness, orientation and supports, plus a short, factual guide to well-known FDM and resin printers and the slicers that drive them.
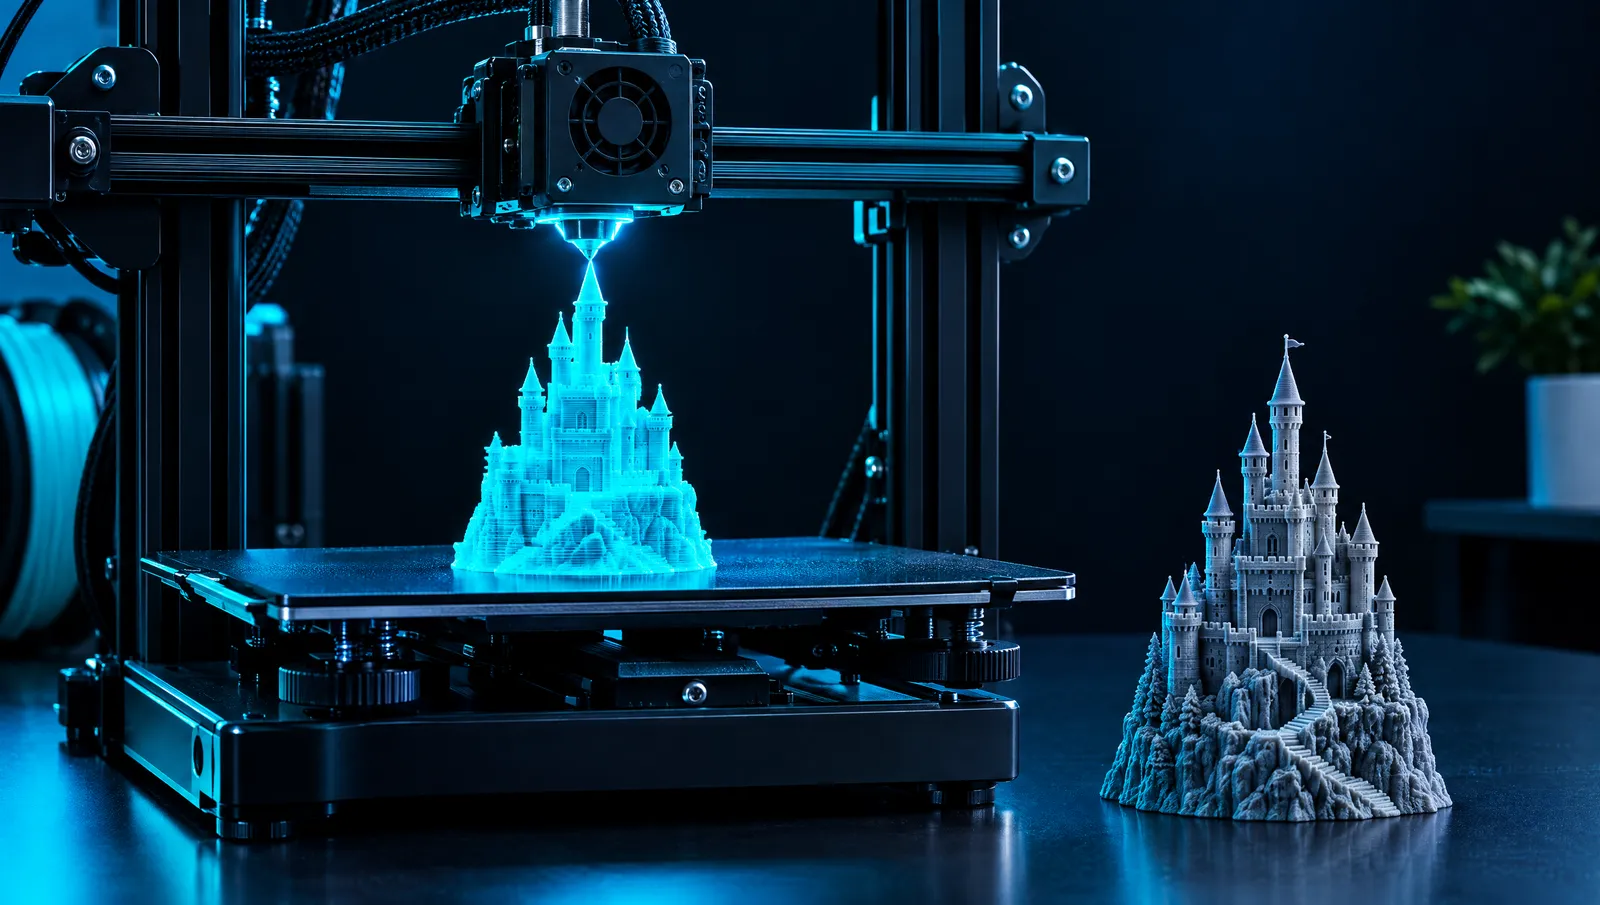
A generated model is made to be looked at. A printed model has to stand up, hold together and survive being built one layer at a time. The gap between the two is small but real, and most failed prints come from the same handful of problems. This guide walks through preparing a MeshForge model for printing, then gives a short overview of well-known printers and slicers to help you choose where to print it.
Step 1: download the right file
Download STL — every slicer accepts it. OBJ also works in most slicers. STL stores only geometry: no colour, no texture, no units. For multi-colour printing, import the model into your slicer and save a 3MF project, which carries colours, materials and units.
Step 2: set the real size
Generated models have no real-world units. When you import the STL, your slicer will guess a size — often wrong by a factor of ten or more. Scale the model to the height or width you want before doing anything else, because every later check (wall thickness, overhangs, supports) depends on the final size.
Step 3: make it watertight
A printable mesh must be closed ("manifold"): a single surface with a clear inside and outside, no holes, no internal faces and no edges shared by more than two faces. Generated meshes are usually close, but small defects are common.
- Most slicers offer an automatic repair when they detect errors on import.
- Blender's 3D Print Toolbox extension checks for non-manifold geometry and can fix it with Make Manifold.
- If a model has many overlapping pieces, a voxel remesh in a modelling tool merges them into one solid.
Step 4: check thin parts
Fingers, antennae, sword blades, tails and hair strands are often far thinner in a scaled-down print than they look on screen. As a rough rule for FDM, parts thinner than about two nozzle widths (around 0.8 mm with a common 0.4 mm nozzle) print poorly or not at all. Resin printers handle much finer detail, but very thin unsupported parts still break during cleaning.
Fix thin parts by scaling the whole print up, thickening the part in a modelling tool, or removing it.
Step 5: give it something to stand on
A figure balanced on two small feet will tip over or peel off the bed. Options:
- Add a flat base or plinth in a modelling tool.
- Cut the bottom flat with the slicer's cut tool.
- Let the slicer add a brim for better bed adhesion.
Step 6: orientation and supports
Every layer needs something beneath it. Overhangs steeper than roughly 45 degrees from vertical usually need supports on FDM printers. Orientation changes how much support you need and where the support marks end up — put them on surfaces nobody will see. Tree or organic supports, available in most modern slicers, are easier to remove from figures than grid supports.
For resin printing, models are usually tilted and supported from below, and large solid models should be hollowed with drain holes to save resin and reduce suction forces.
Step 7: slice, preview, print
Always scrub through the layer preview before printing. It shows floating islands, missing supports and gaps that no mesh check will catch.
FDM or resin?
| FDM (filament) | Resin (MSLA / SLA) | |
|---|---|---|
| How it works | Melts plastic filament through a nozzle | Cures liquid resin layer by layer with light |
| Strengths | Larger parts, functional prints, cheap material, easy handling | Very fine detail, smooth surfaces |
| Weaknesses | Visible layer lines, limited fine detail | Smaller build volumes, resin handling and washing, curing |
| Good for | Props, cosplay parts, prototypes, household items | Miniatures, jewellery masters, dental and detailed figures |
Well-known printers at the time of writing
The following are well-known machines, with specifications as stated on each manufacturer's own site or documentation at the time of writing (September 2026). Manufacturers update models and specs often; check their pages before buying. We have not listed prices.
FDM printers
| Printer | Build volume (stated) | What stands out | Good for |
|---|---|---|---|
| Prusa CORE One | 250 × 220 × 270 mm | Fully enclosed CoreXY with an actively heated chamber (up to 55 °C) | Enclosed printing, engineering filaments such as ABS/ASA |
| Original Prusa MK4S | 250 × 210 × 220 mm | Open-frame; Nextruder, load-cell first-layer calibration, input shaping | Reliable everyday PLA/PETG printing, tinkerers |
| Bambu Lab X1 series | 256 × 256 × 256 mm | Bambu Lab's flagship series; multi-material via AMS | Multi-colour prints with minimal setup |
| Bambu Lab P1S | 256 × 256 × 256 mm | Fully enclosed chamber (passively heated); up to 4 AMS units | Enclosed multi-colour printing |
| Bambu Lab A1 | 256 × 256 × 256 mm | Offered as a combo with AMS lite for multi-colour (A1 mini: 180 × 180 × 180 mm) | Entry-level multi-colour |
| Creality K1 Max | 300 × 300 × 300 mm | CoreXY; stated up to 600 mm/s; AI LiDAR first-layer scanning | Large, fast prints |
| Creality K2 Plus | 350 × 350 × 350 mm | Actively heated chamber; CFS system for up to 16 colours | Very large multi-colour prints |
Resin printers
| Printer | Stated specs | Good for |
|---|---|---|
| Elegoo Saturn 4 Ultra 16K | 10-inch 16K mono LCD, 14 × 19 µm XY resolution, 211.68 × 118.37 × 220 mm, heated resin tank (30 °C), tilt release | Highly detailed miniatures and figures |
| Anycubic Photon Mono M7 Pro | 10.1-inch 14K screen (13320 × 5120), 223 × 126 × 230 mm, temperature-controlled vat | Detailed figures at a consumer level |
| Formlabs Form 4 | Low Force Display (LFD) resin printing, 50 µm pixel size, broad engineering and dental resin range | Professional and engineering use |
Slicers
A slicer turns your mesh into printer instructions (usually G-code for FDM printers). The best-known FDM slicers:
- PrusaSlicer — Prusa Research's slicer, the base that Bambu Studio and OrcaSlicer build on.
- Bambu Studio — Bambu Lab's open-source slicer, based on PrusaSlicer.
- UltiMaker Cura — free, open-source slicer with plug-ins and material profiles from the UltiMaker Marketplace.
- OrcaSlicer — a community open-source slicer that draws on Bambu Studio and PrusaSlicer, with a built-in suite of calibration tests (temperature towers, flow rate, retraction).
- Resin printers use their own slicers; check your manufacturer's software page.
Sources & further reading
- Prusa CORE One and Original Prusa MK4S — Prusa Research product pages.
- Bambu Lab Wiki: print volume and P1 series FAQ — build volumes and P1S details.
- Creality K1 Max and Creality K2 Plus Combo.
- Elegoo Saturn 4 Ultra 16K announcement.
- Anycubic Photon Mono M7 Pro.
- Formlabs Form 4.
- PrusaSlicer, Bambu Studio on GitHub, UltiMaker Cura, OrcaSlicer on GitHub.
- Blender 3D Print Toolbox — mesh checks and Make Manifold.
- 3MF Consortium — the 3MF format with colours, materials and units.